
The Points of Interest grid displays geographic reference points used across fiResponse. Points of Interest are location markers that can be referenced during incident operations. Each point has a defined category (populated/terrain), type, and geographic coordinates.
This section is primarily administered by system administrators.
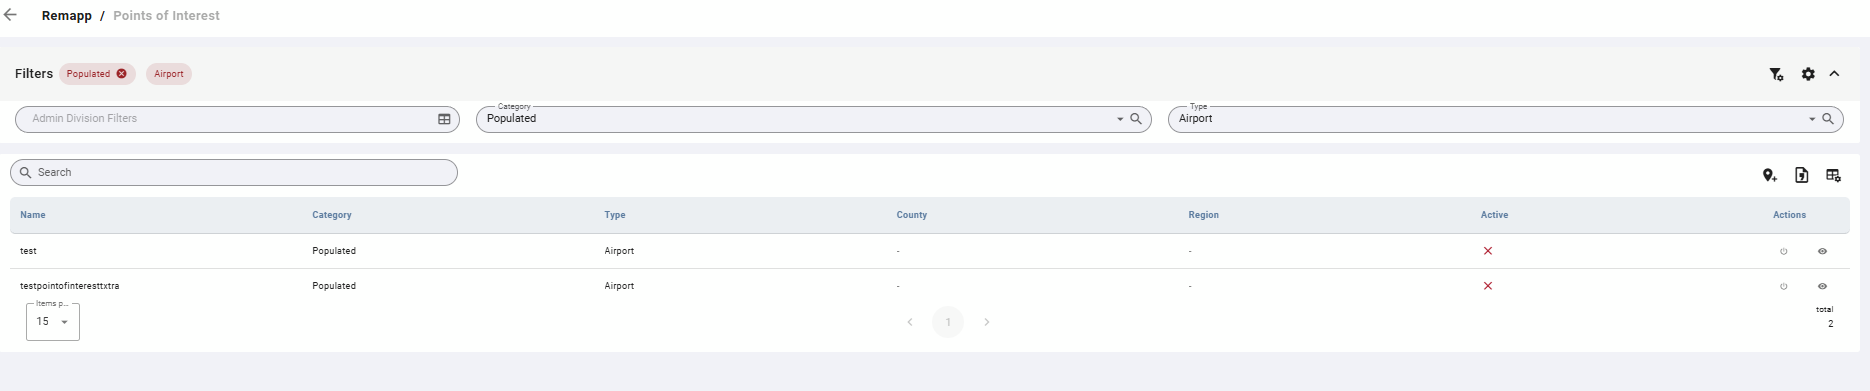
Filters
Filters (in dropdown, multi-select, and toggle formats) are available at the top of the grid view. If you have configured default filters in Configuration, they will be applied automatically when you open this grid. See Configuration for instructions on setting defaults.
A Search bar also appears below the Filters.
Grid
Table Actions
|
Icon |
Label |
Description |
|---|---|---|
|
Pin |
Add Point of Interest |
Opens a form to create a new point of interest. |
|
Document |
Export |
Exports the current grid contents to your chosen format. |
|
Grid with gear |
Toggle Columns |
Opens column visibility controls. |
Row Actions
|
Icon |
Action |
Description |
|---|---|---|
|
Power icon |
Activate / Deactivate |
Toggles the active state of the point. Click to deactivate an active point, or to reactivate an inactive one. |
|
Eye |
View Details |
Opens the full record in view mode. Click Edit within the record to make changes. |
Points of Interest cannot be deleted. Use the Deactivate action to remove a point from active use while retaining the record.
Common Tasks
Add a New Point of Interest
-
Click the Add Point of Interest icon (pin) in the toolbar.
-
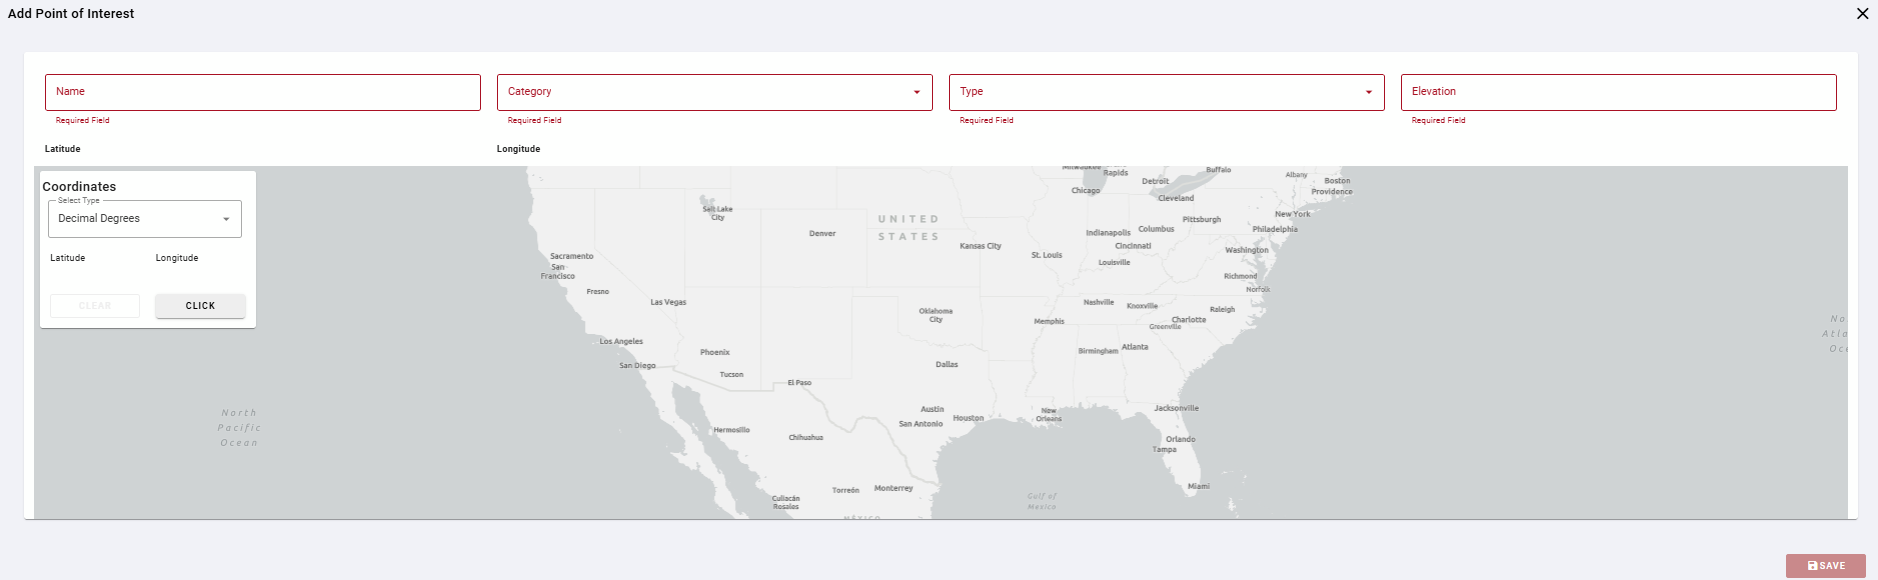
Complete the form. Required fields are highlighted in red.
-
Set the geographic coordinates. In the Coordinates panel, select the coordinate format (e.g. Decimal Degrees), then select Click and click the location on the map. Latitude and Longitude fields will populate automatically.
-
Click Save.
View or Edit a Point of Interest
-
Locate the record in the grid using Search or Filters.
-
Click the eye icon (View Details) in the Actions column.
-
To make changes, click Edit.
-
Update the relevant fields.
-
Click Save.