
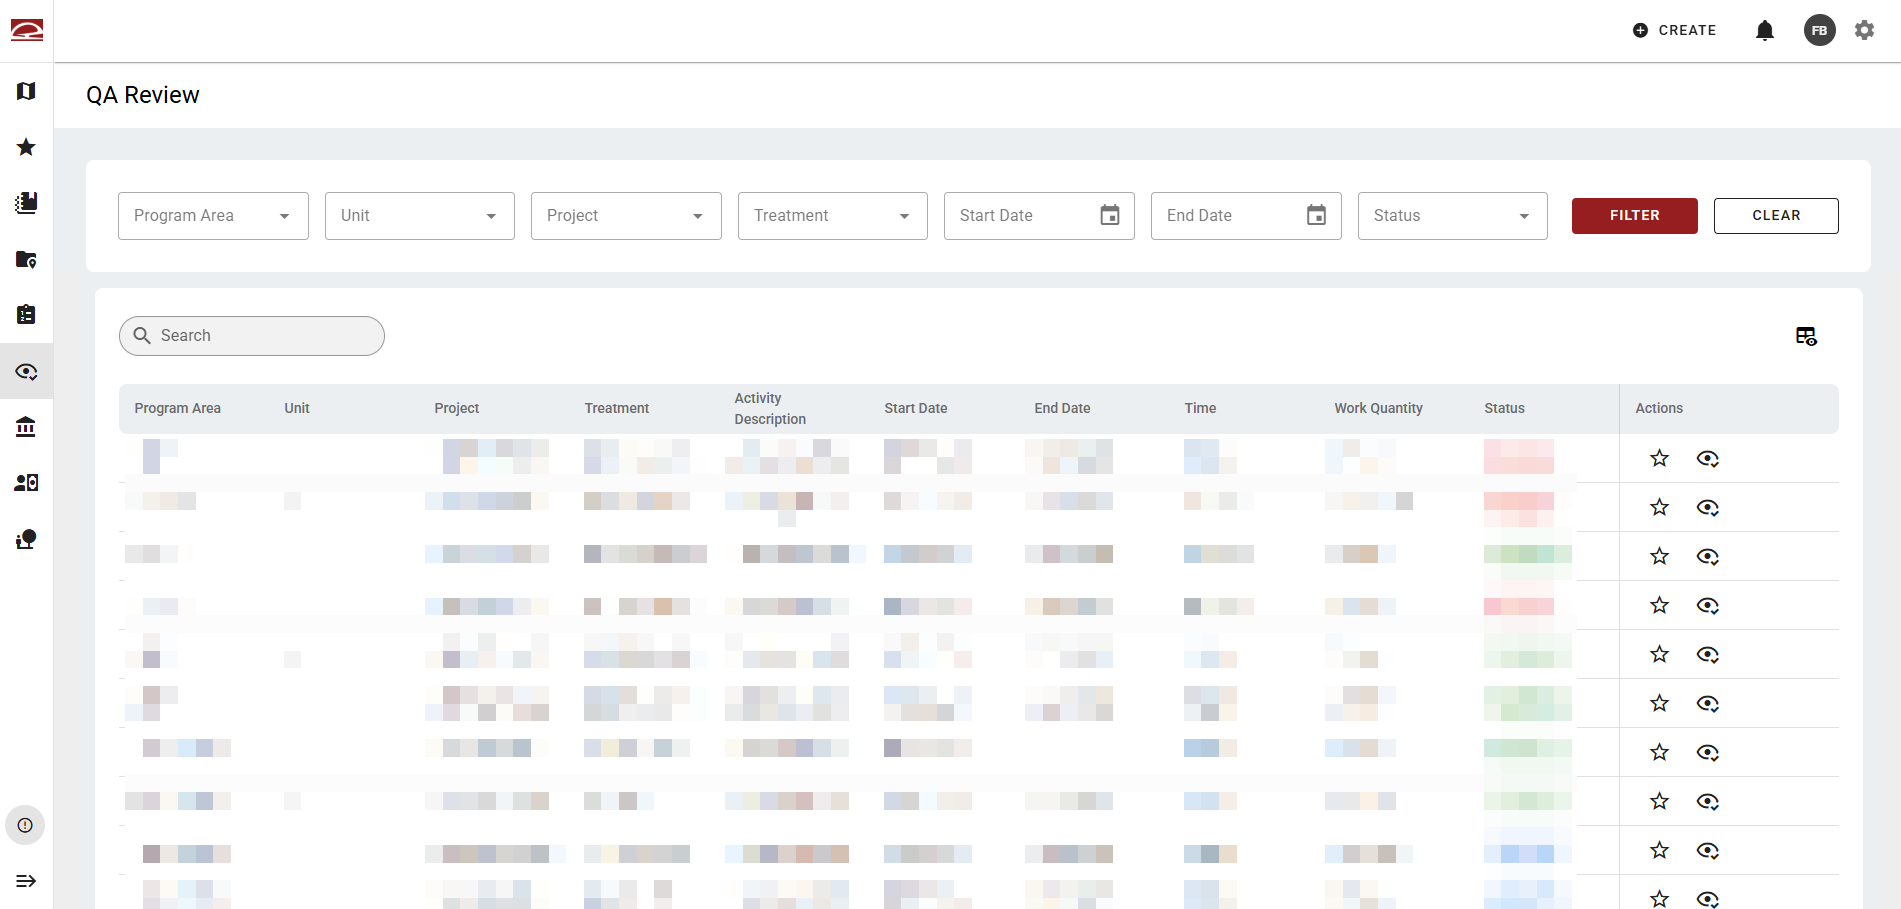
The QA Review page provides a permission-based queue for reviewing, approving, flagging, or rejecting work log submissions. It is is only visible to users with QA permissions.
Filtering and Search
Users can filter the list using multiple criteria such as Program Area, Unit, Project, Treatment, Start Date, End Date, and Status (Flagged/Submitted). A Filter button applies selections and Clear resets them. A free-text search bar is also available for quick lookup. Or, click a column heading to sort it in ascending or descending order.
Table
The table displays each work log with default columns. Use the spreadsheet icon in the top right to adjust the columns shown.
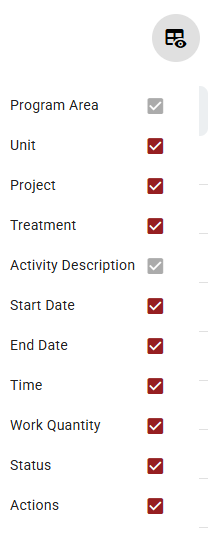
Table Actions
Each work log (row) has two action icons: a view (eye) icon to open the record and a delete (trash) icon.
View Work Log
Clicking the view (eye) icon opens an individual record page for the work log selected.
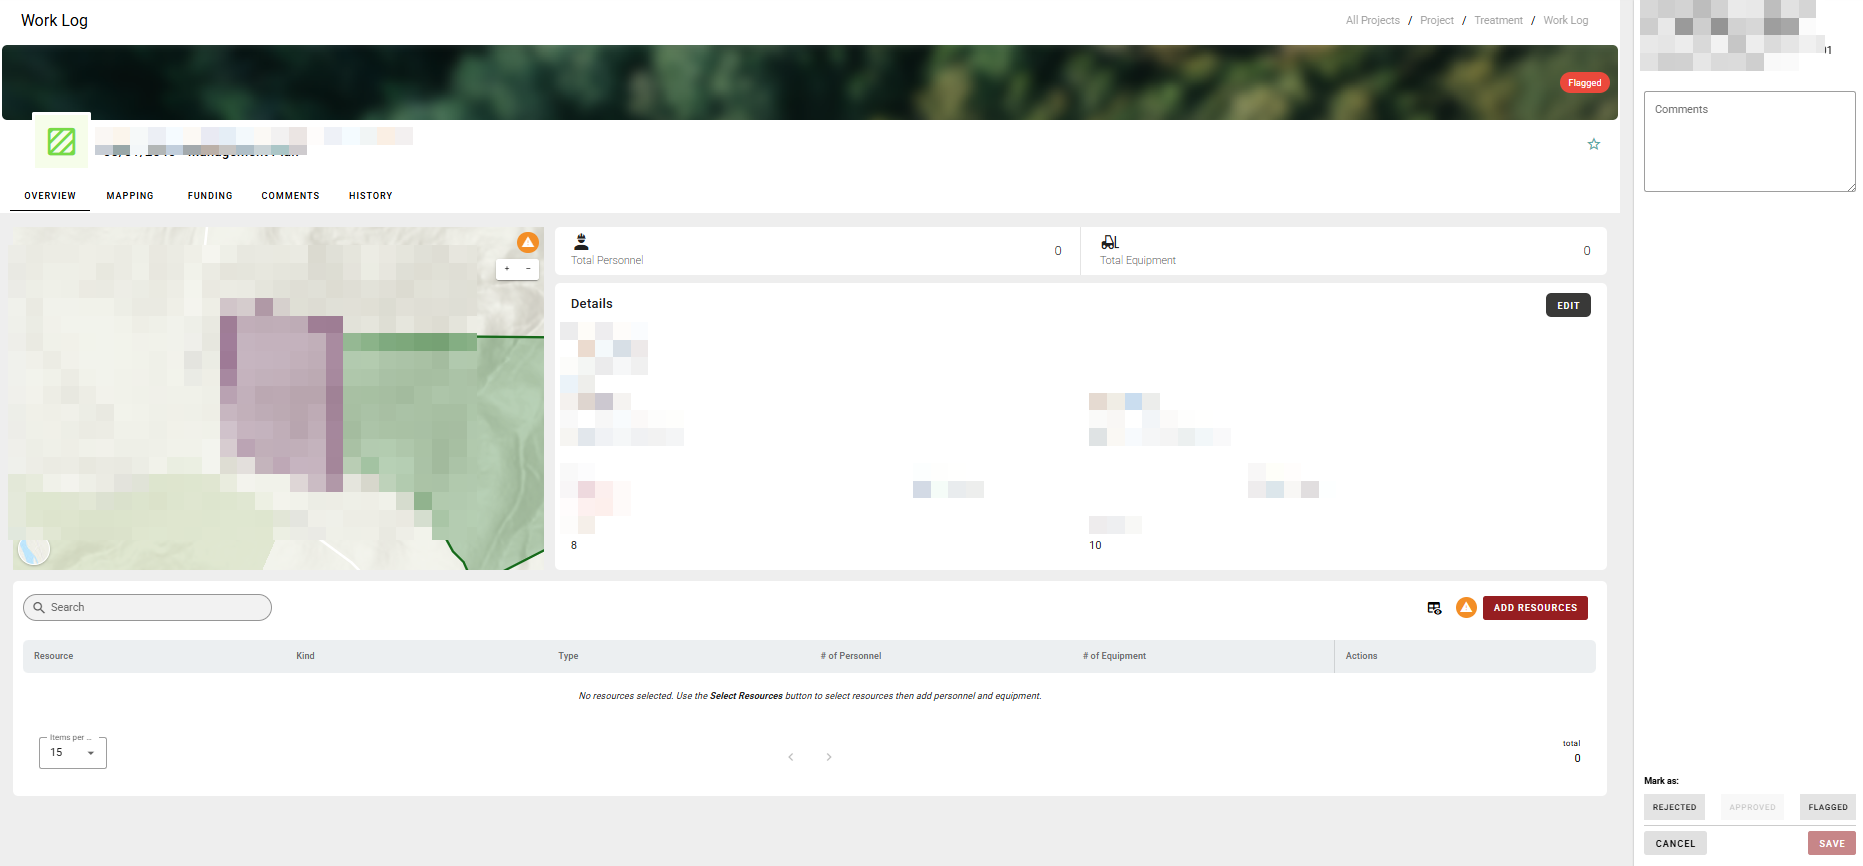
A QA side panel appears on the right side of the screen. It displays the record's QA context information at the top along with a Comments text area for the reviewer to add notes. At the bottom of the panel, three Mark as action buttons allow the reviewer to set the QA outcome: Rejected, Approved, or Flagged. Cancel and Save buttons commit or discard the QA decision.
The work log record has five tabs:
1. Overview
The Overview tab is the landing tab when a work log record is opened. It displays a mini map showing the work log's geographic context alongside a Details panel containing the work log's key attributes. An Edit button in the top right of the Details panel allows authorized users to modify the record.
Below the Details panel, a Resources section lists all personnel and equipment assigned to the work log. An Add Resources button initiates resource assignment. When no resources have been added, a prompt instructs users that the worklog cannot be approved without resources. If existing resources appear in the table, a Manage Resources button appears instead.
2. Mapping
The Mapping tab expands the work log's map, zooms in on the work log, and adds map tools to the map. The Feature Manager appears below the map.
3. Funding
The Funding tab allows users to manage funding source allocations for the work log. Click Add Funding to add funding source from the available options or Split Cost, only enabled if there are multiple funding sources.
4. Comments
The Comments tab allows users to add and view comments on the work log, supporting collaboration and internal notes without modifying the core record data.
5. History
The History tab provides an audit log of changes made to the work log record, including what was changed, by whom, and when.