
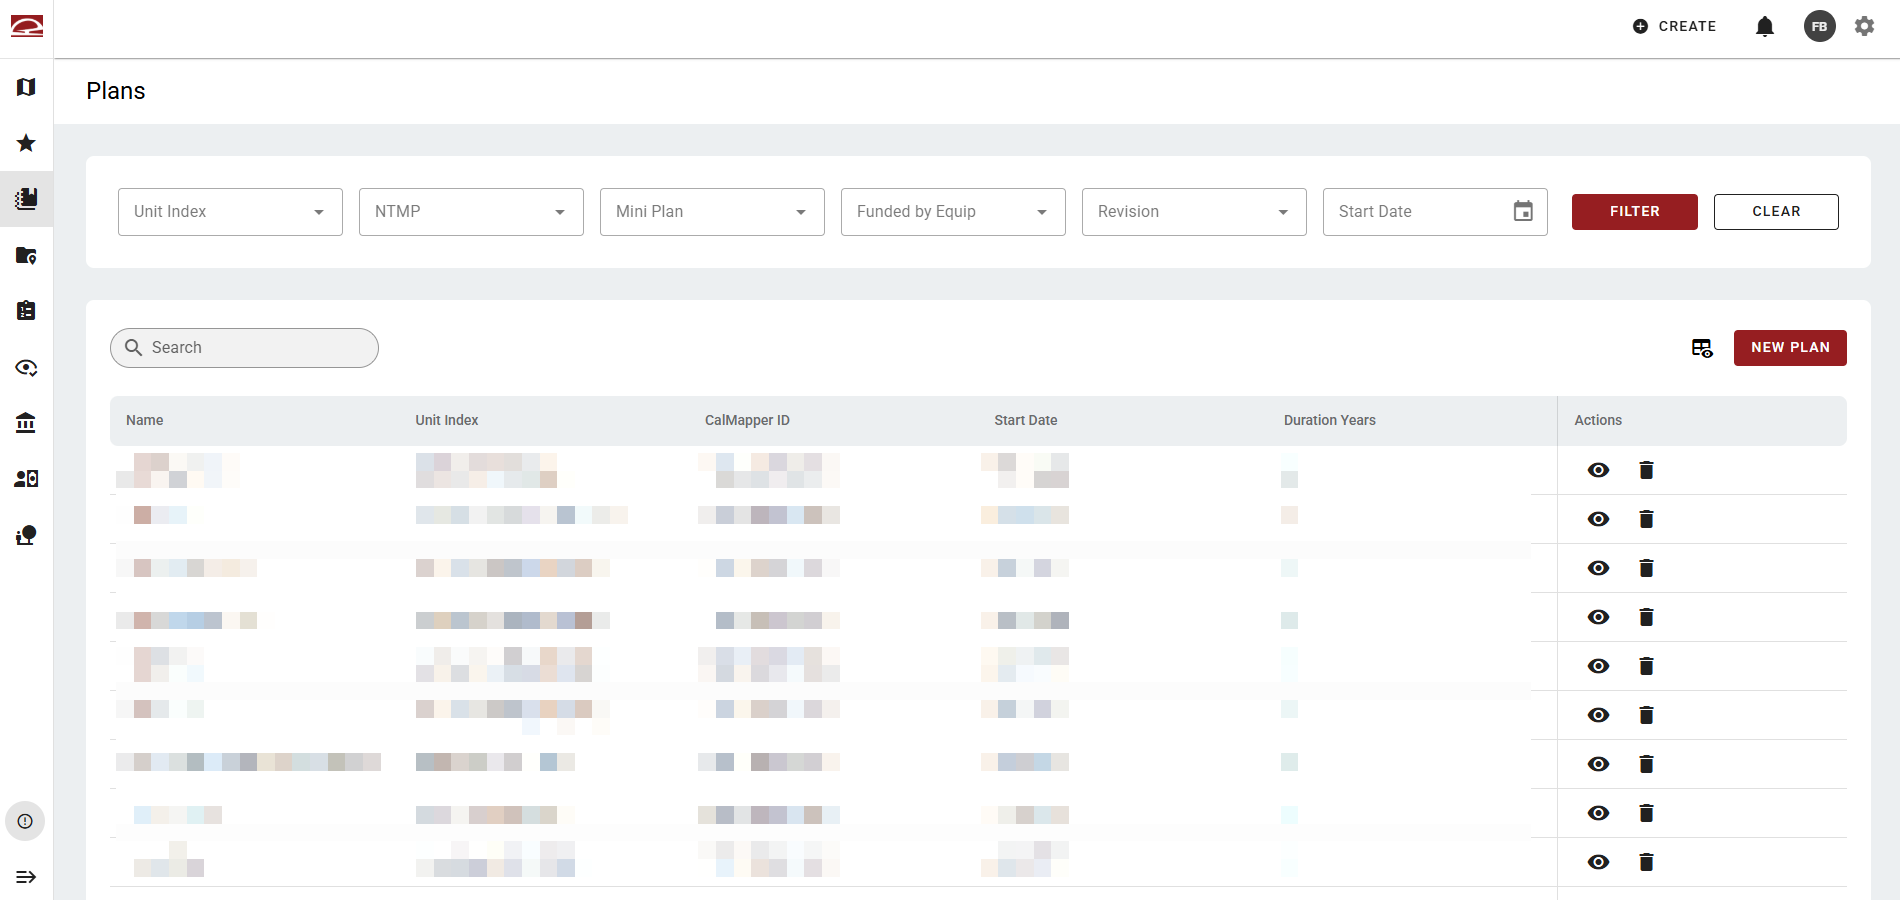
The Plans page provides a searchable, filterable list of all planning documents in the system. It serves as the entry point for managing higher-level planning records that organize projects and treatments.
Filtering and Search
At the top, users can narrow the list using filters. A Filter button applies the selection and a Clear button resets it. A search bar is also available for quick lookup by name or ID. Or, click a column heading to sort it in ascending or descending order.
Table
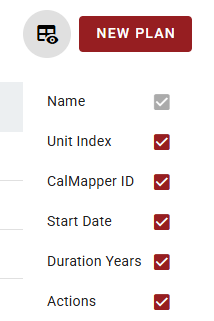
The table displays each plan with default columns.
Each row has two action icons — a view (eye) icon to open the plan record and a delete (trash) icon to remove it.
View Plan
Clicking the view (eye) icon opens an individual record page for the plan selected.
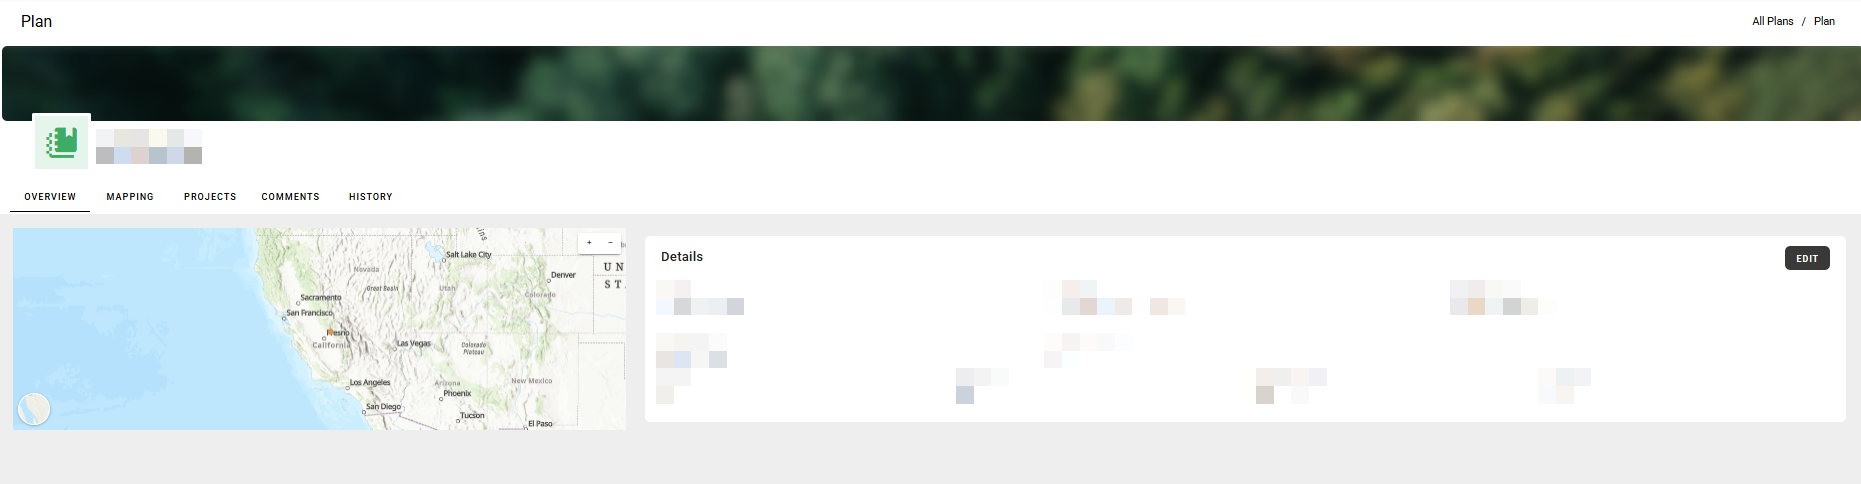
The record is organized into five tabs:
1. Overview
The Overview tab is the landing tab when a plan record is opened. It displays a mini map showing the plan's geographic context alongside a Details panel containing the plan's key attributes. An Edit button in the top right of the Details panel allows authorized users to modify the record.
2. Mapping
The Mapping tab expands the plan's map, zooms in on the plan, and adds map tools to the map. The Feature Manager appears below the map.
3. Projects
Use the Projects tab to link projects to the selected plan record.
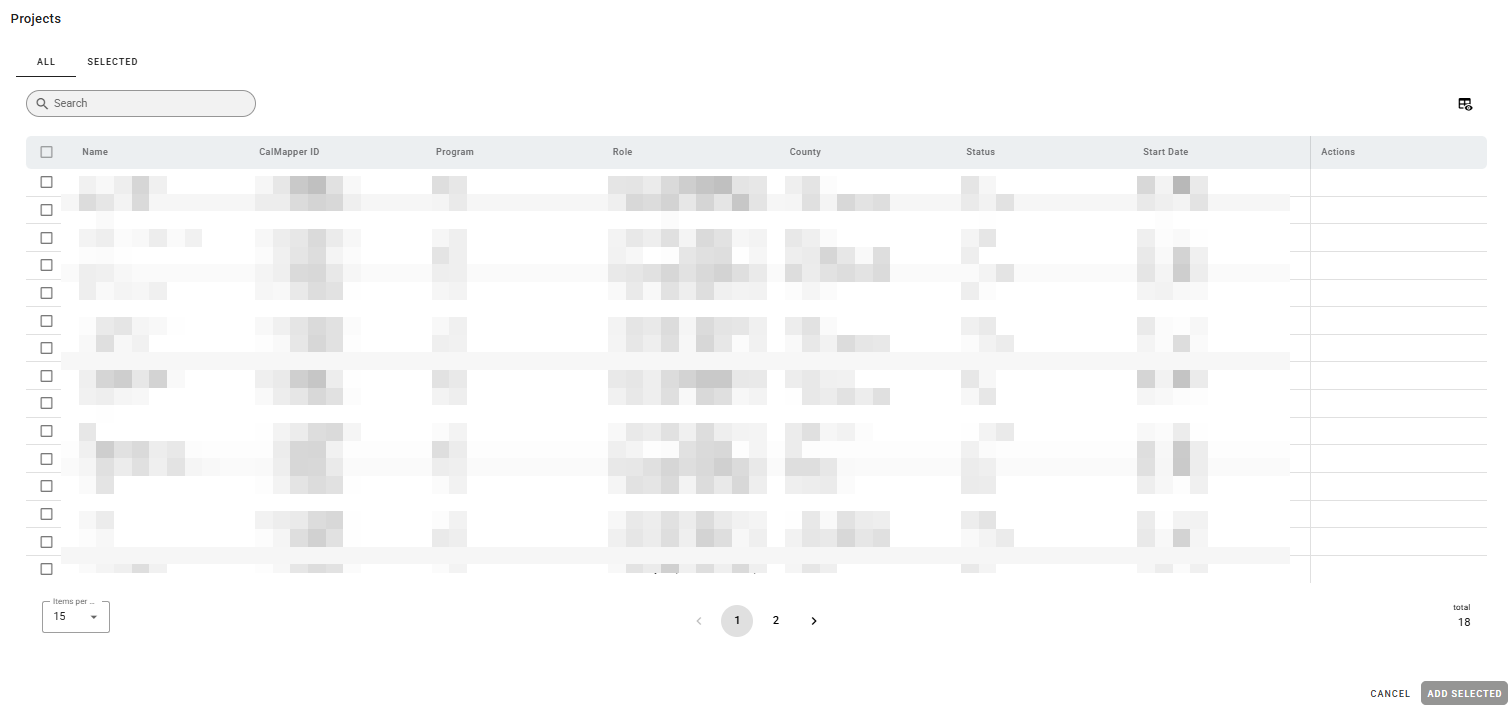
4. Comments
The Comments tab allows users to add and view comments on the plan record, supporting collaboration and internal notes without modifying the core record data.
5. History
The History tab provides an audit log of changes made to the plan record, including what was changed, by whom, and when.
New Plan
Use the New Plan button in the top right of the table to launch the plan creation workflow.
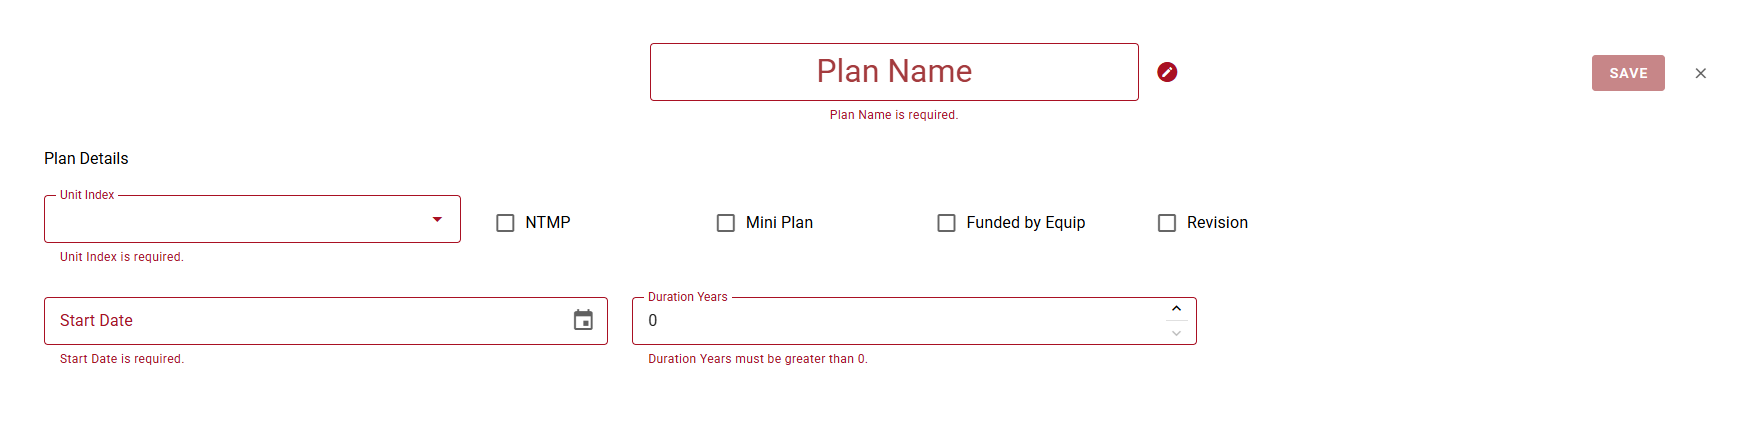
Enter the required information and click Save.