
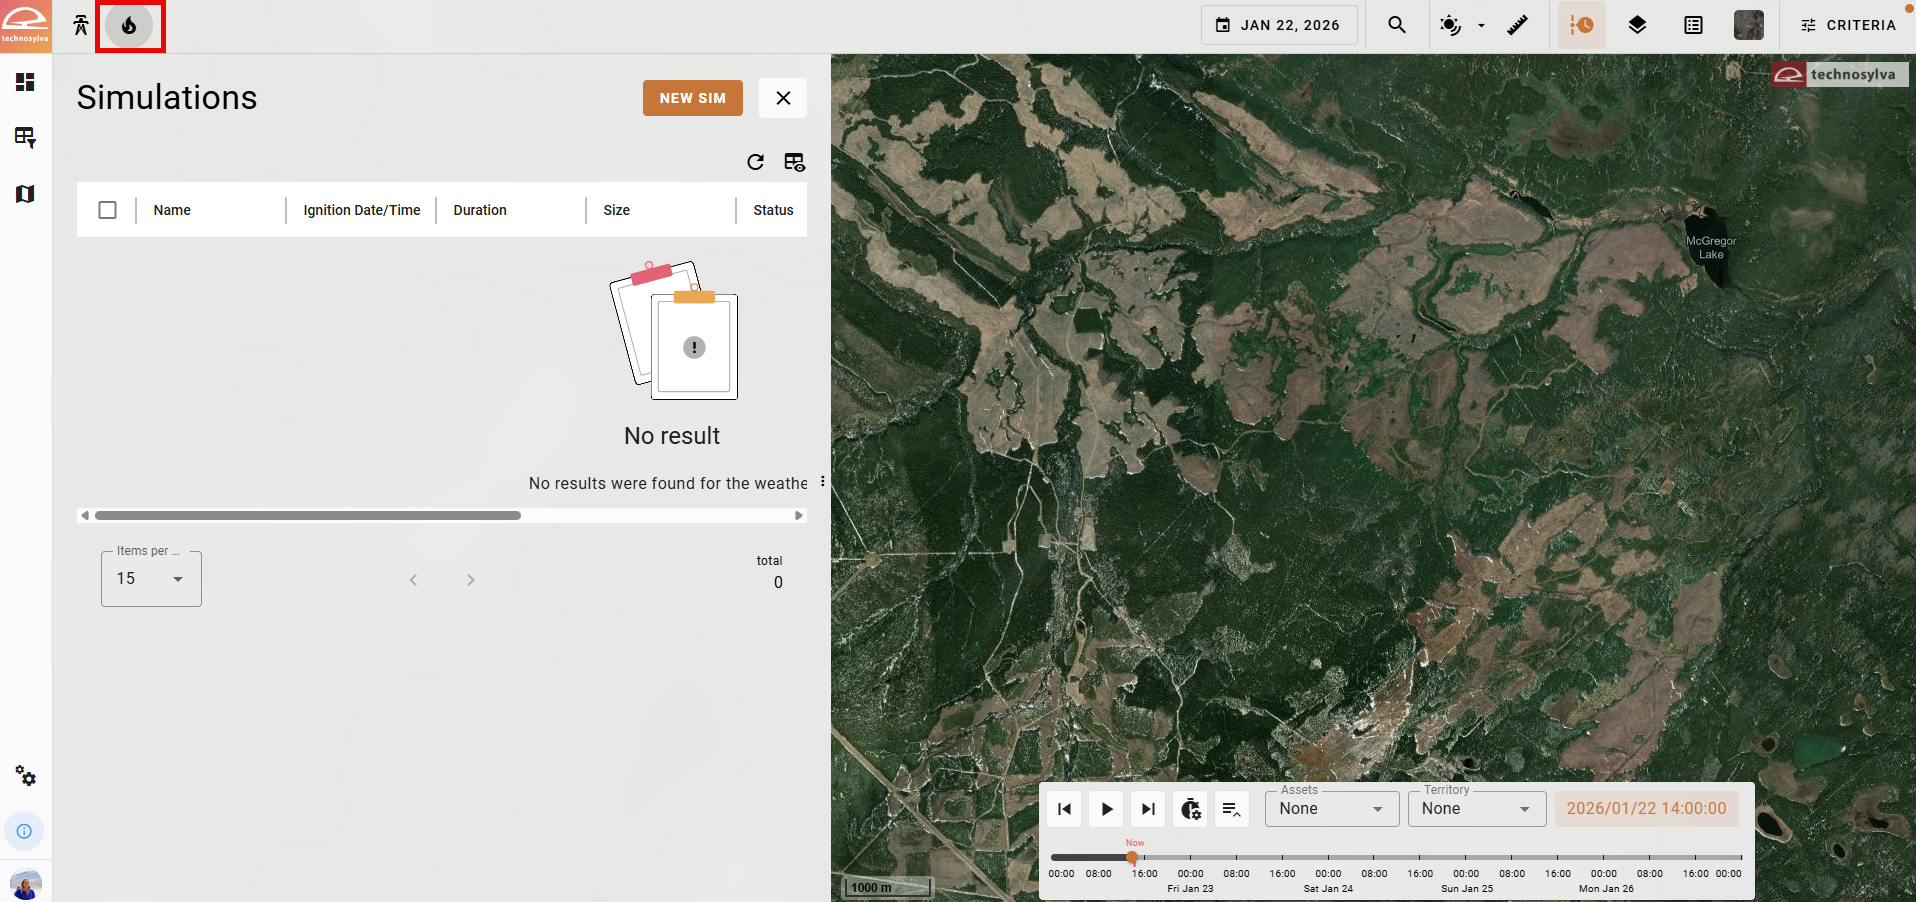
To run or view a simulation (a fire spread prediction), select the Simulations panel from the top left of the Map view. If no simulations exist yet, the table will be empty.
Run a New Simulation
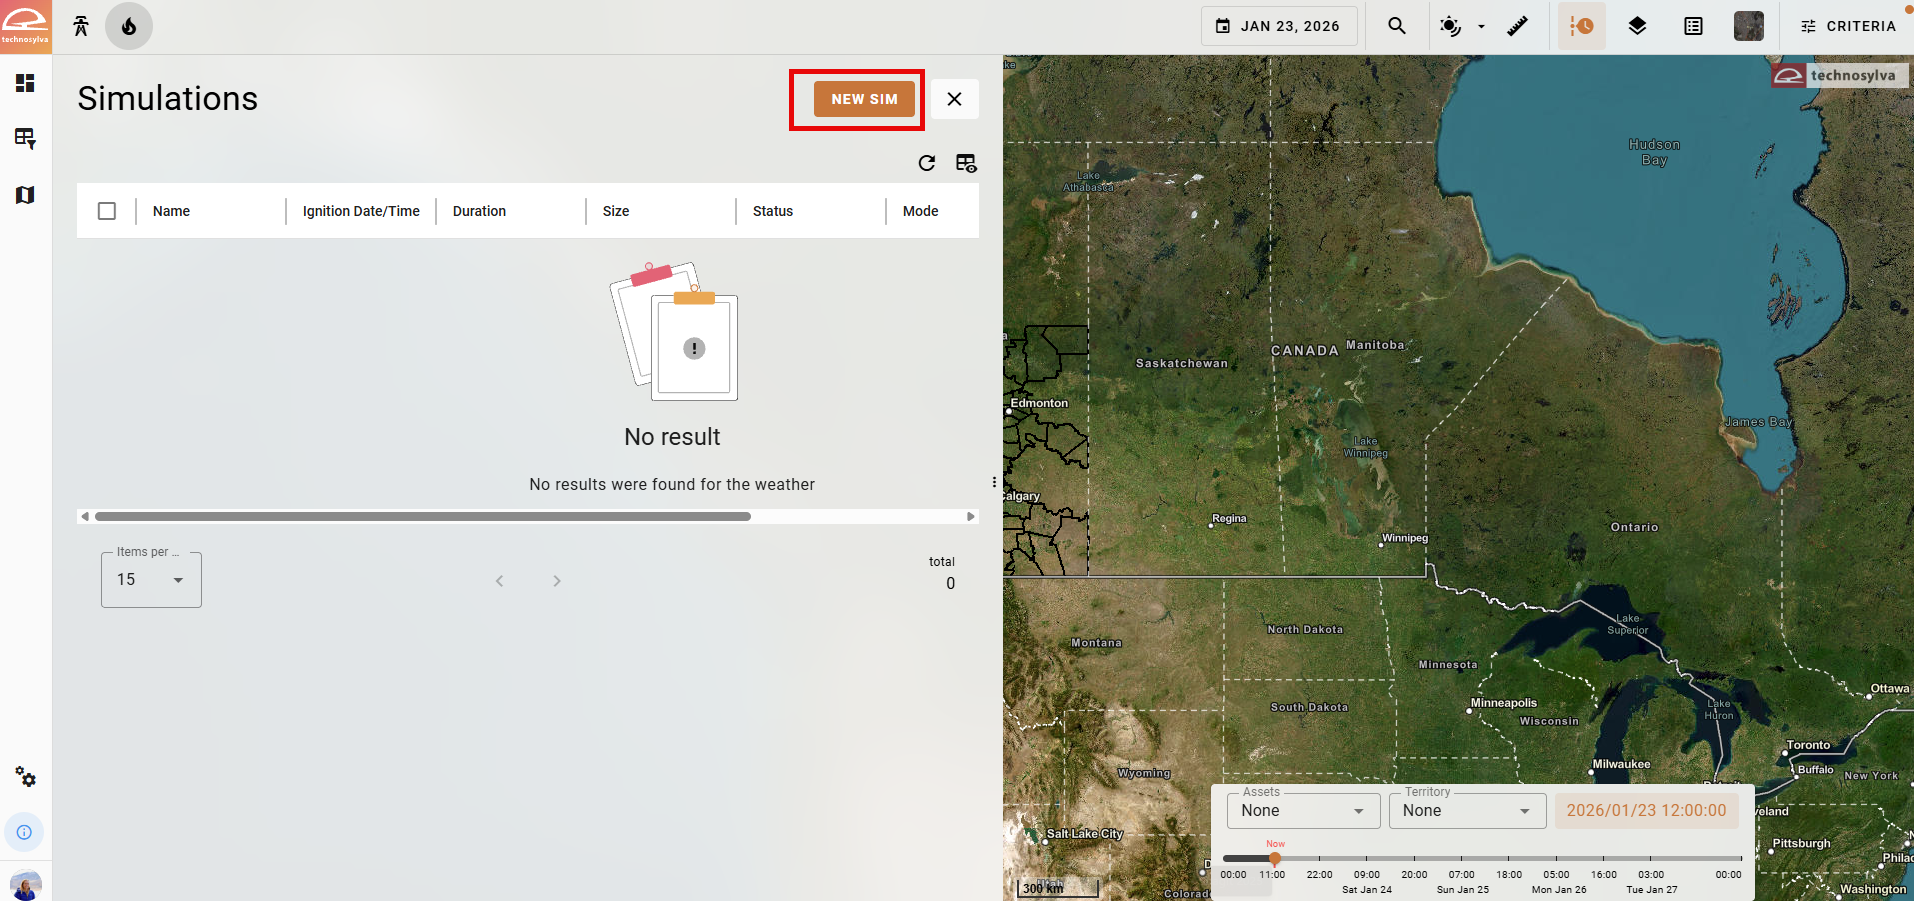
Click the New Sim button in the top right of the Simulations panel to run a new simulation.
A New Simulation window will appear.
See Configuring Simulations for more information on the different types of simulations and how to configure each field.
Simulations Table
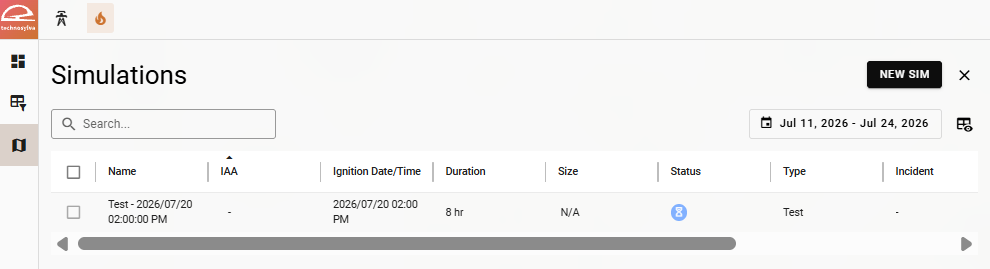
Once you have run a simulation, it will appear in the Simulations table. Processing times will vary based on model configurations.
-
An icon in the Status column indicates the status of the simulation:
-
A blue hourglass indicates the simulation is still running.
-
A red X indicates the simulation has failed.
-
A green checkmark indicates the simulation has successfully completed.
-
An orange error indications the simulation ran but has no results.
-
-
To delete an existing simulation, select the simulation in the table, scroll to the Actions column, and select Delete.
-
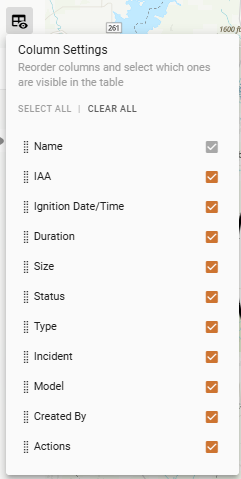
Use the Show/Hide Columns button in the top right to toggle visibility or reorder the columns in the Simulations table.
Reviewing Simulations
Click the Name of a simulation in the Simulations table to review it. The simulation will appear on the map and a panel summarizing the simulation will appear.
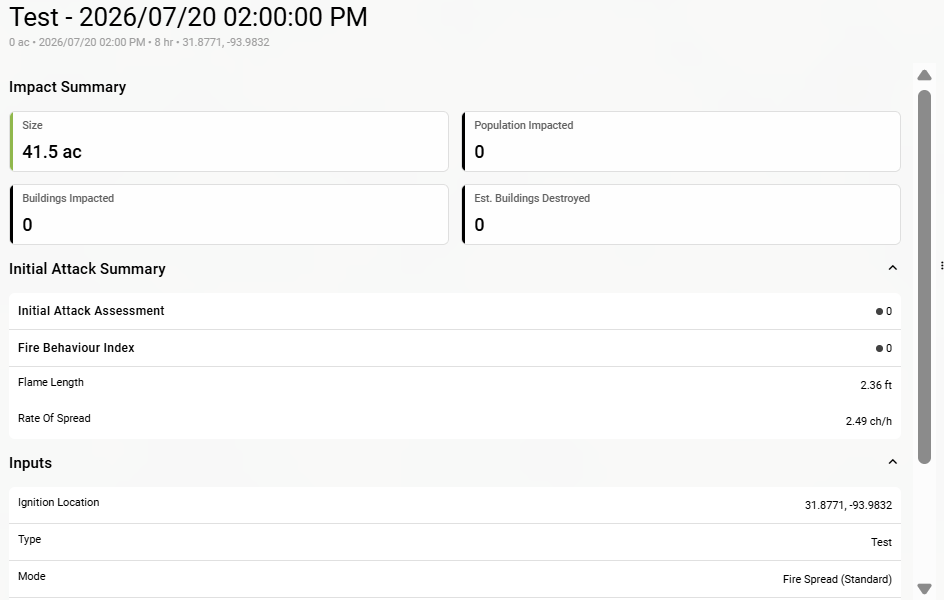
The Impact Summary, Initial Attack Summary, and Inputs give details on the selected simulation.
Simulation Weather
Simulation weather is currently only available for FireCast simulations.
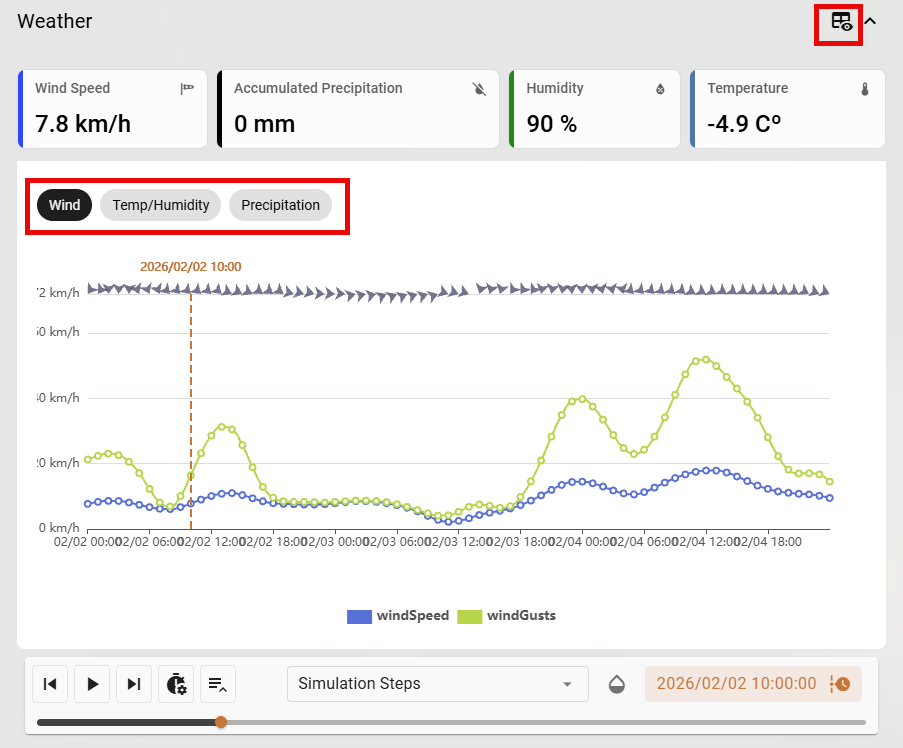
The Weather panel can be used to review weather metrics for the simulation across the timeline. Use the Show/Hide Columns button in the top right to select which weather metrics you would like to see, or choose a different weather metric from the timeline chart below.
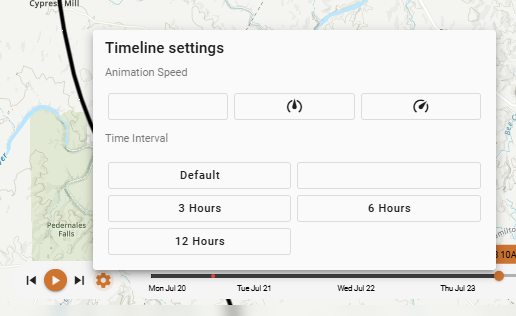
Timeline Settings
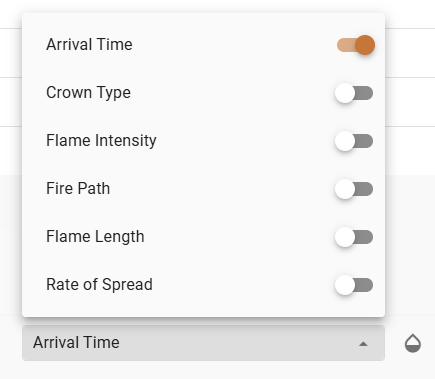
Use the dropdown on the timeline to choose between Simulation Outputs. Note that simulation outputs vary by simulation model. See the Technosylva Glossary for variable definitions.
Use the color droplet to the right to adjust Opacity for the selected layer. A red dot appears on the Opacity icon when the layer is partially transparent.
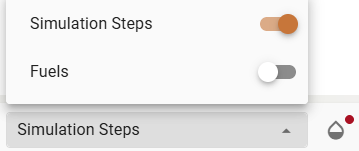
Use the Timeline Navigation buttons to: move back one interval, play/pause the forecast, or move forward one interval. Alternatively, click and drag along the timeline to advance or replay the forecast. Using the Timeline Settings to adjust the Animation Speed of the simulation animation or change the Time Interval.
Press Back to review a different simulation.
Comparing Simulations
Select multiple simulations from the table will prompt the Compare Sims button to appear in the top right.

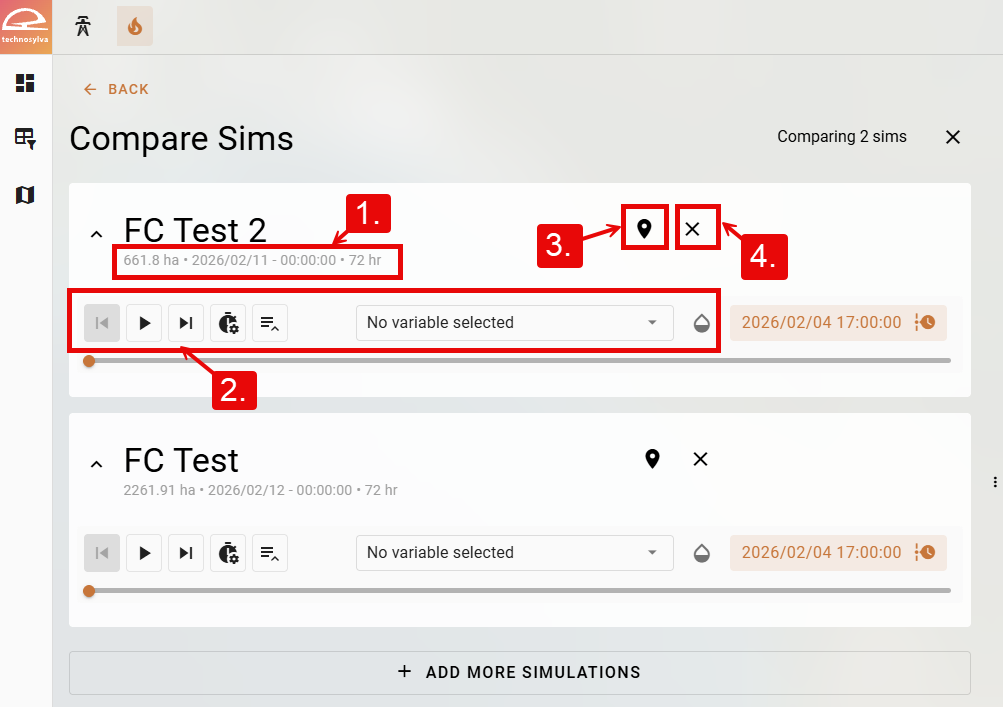
-
Compare the details of the simulations: Size, Ignition Date/Time, Duration.
-
Use the Timeline Settings to view the simulations over time on the map.
-
Zoom to the extent of the simulation.
-
Remove this simulation from the comparison.