The Assets Table displays asset-specific information in separate tabs for each layer selected in the Map Layers panel.
Sort and Search Assets
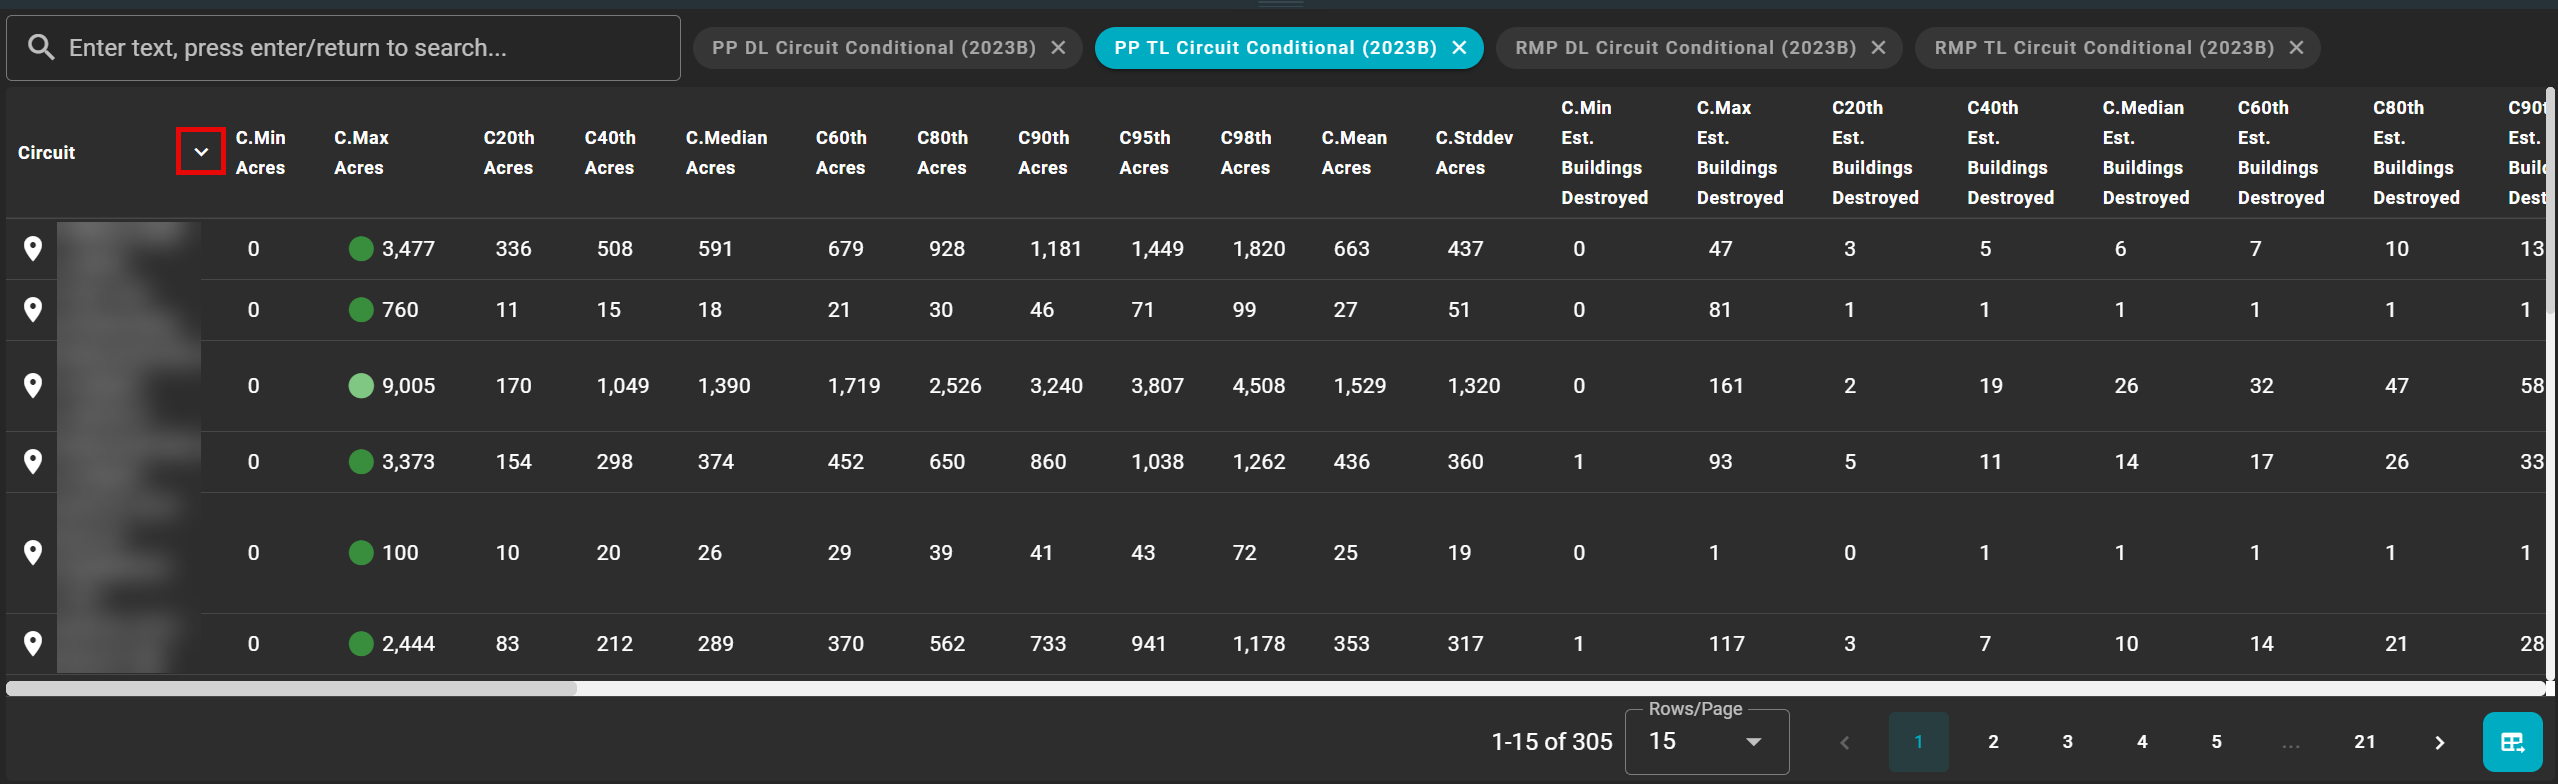
Use the arrow located to the right of each column name to sort your assets in ascending or descending order.
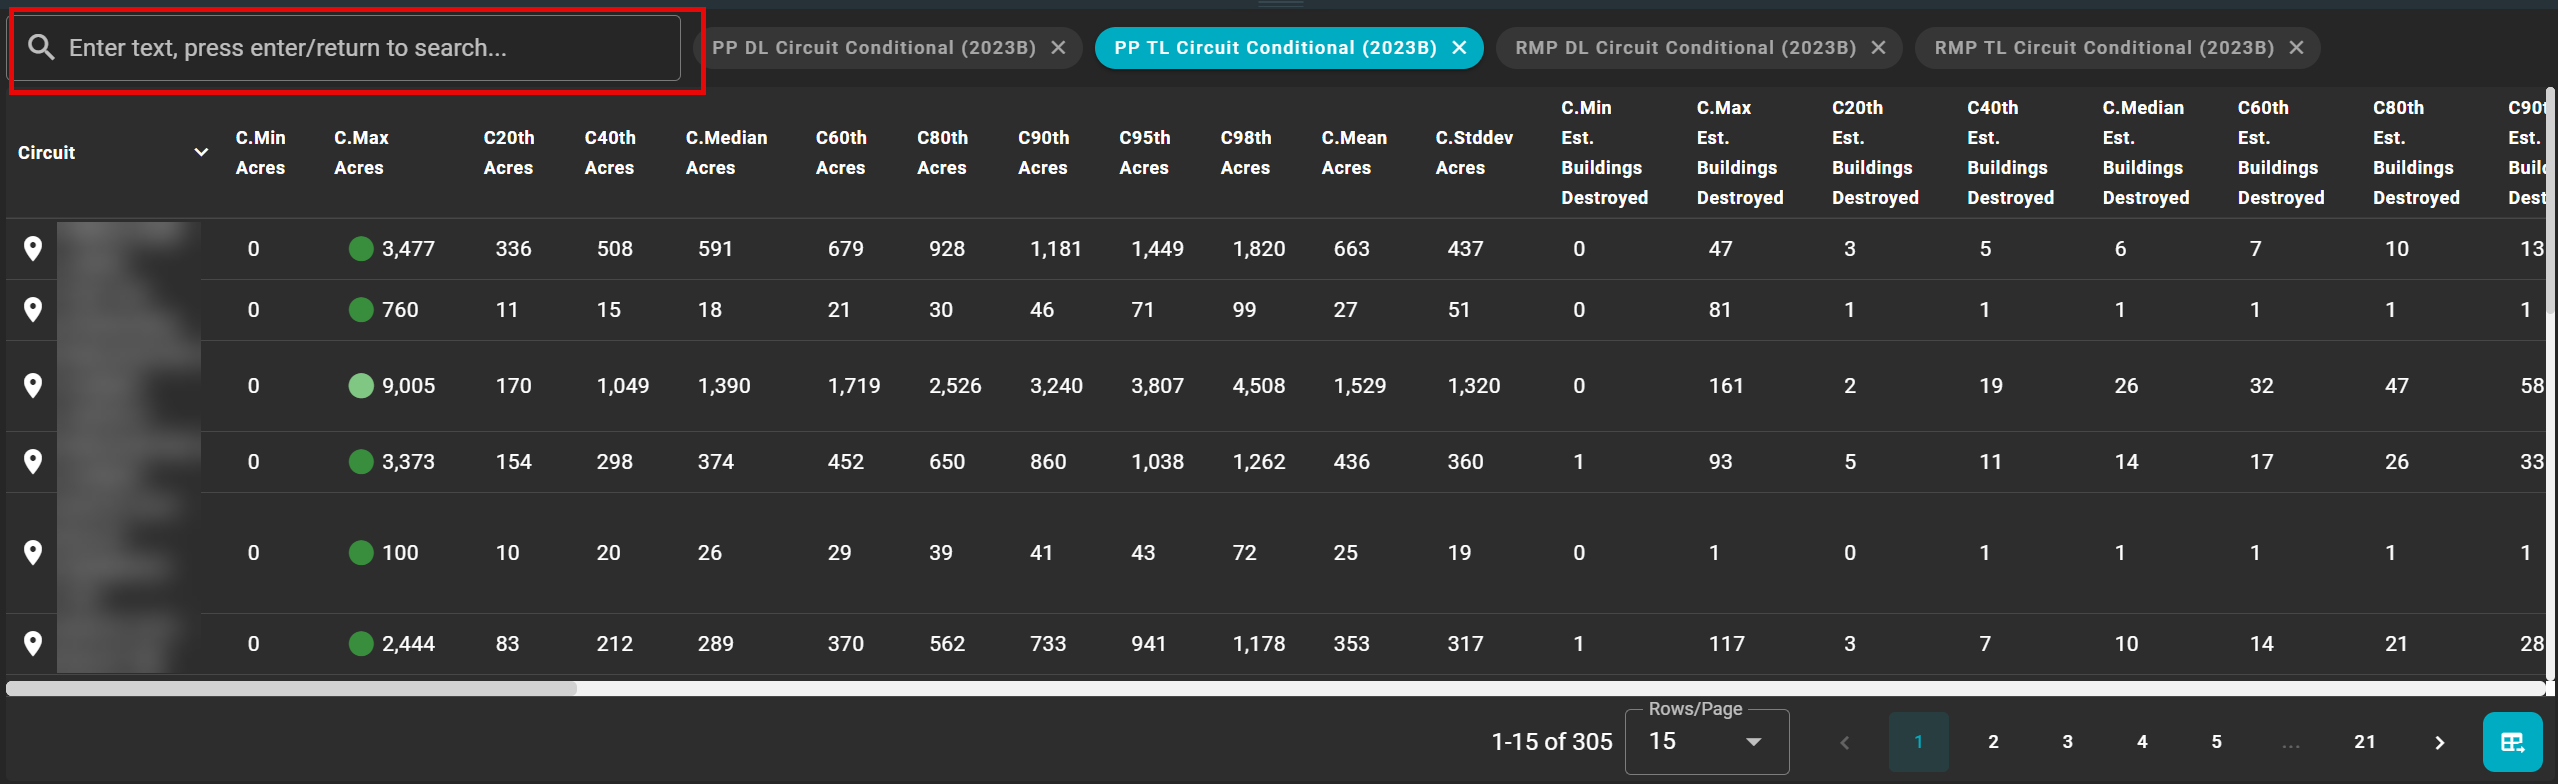
Use the search bar in the upper right corner to search for particular assets.
Asset Table Settings
Use the table icon in the bottom right-hand corner to adjust the Asset Table Settings.
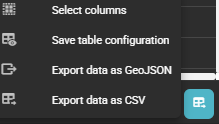
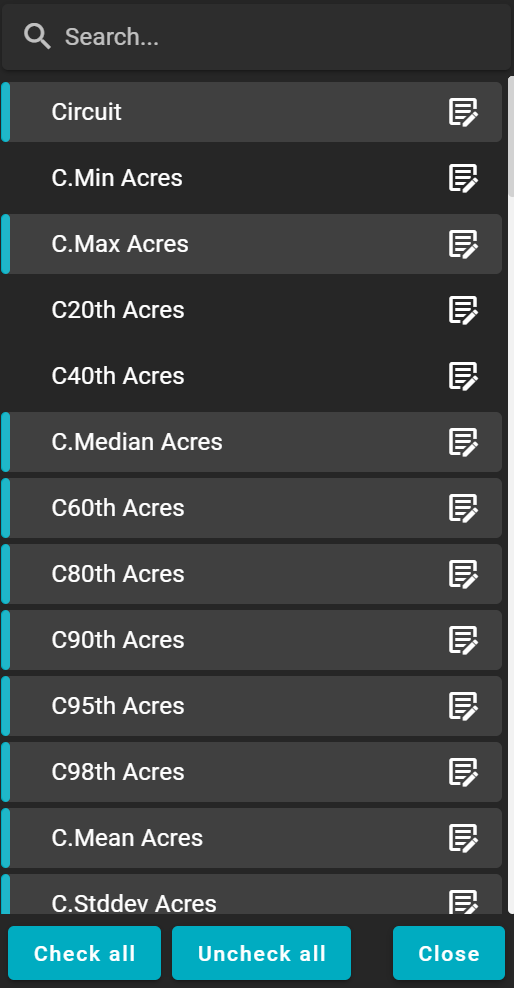
Select Columns
Click once a column name to toggle the column on or off in the Asset Table.
-
Selected columns will be highlighted in blue.
-
De-selected columns will be greyed out.
Use the search bar to search for a company-specific data column.
Click the notepad icon to the right of each column name to open the Layer Attribution Editor.
Layer Attribution Editor
The Layer Attribution Editor provides options to configure the Naming and Styling of each attribute.
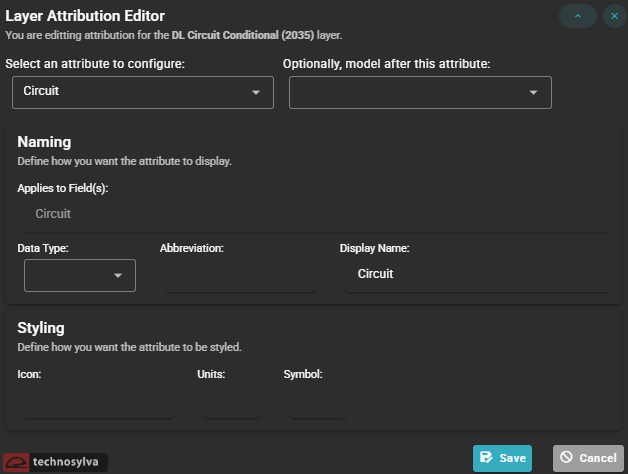
Attribute Selection dropdowns allow the user to choose which attribute to configure and optionally model it after an existing attribute to inherit its settings.
Naming controls how the attribute is identified and presented:
-
Applies to Field(s) — Shows which underlying data field the configuration maps to as selected above
-
Data Type — A dropdown to define the kind of data (e.g., number, date, etc.)
-
Abbreviation — An optional short label for compact display contexts
-
Display Name — The human-readable name shown to users in the interface
Styling controls the visual presentation of the attribute:
-
Icon — Assign a visual icon to represent the attribute
-
Units — Define the unit of measurement for numeric attributes
-
Symbol — Assign a map symbol for how the attribute appears on the map
Save / Cancel buttons in the lower right confirm or discard any changes made.
Save Table Configuration
Save Table Configuration saves the table’s filters, even if the data layer is removed from the table. If a table configuration is saved, an additional option will appear in the Asset Table Settings to Reset Table Configuration.
Export Data as GeoJSON
Export Data as GeoJSON opens a window to select a location to save the data as a GeoJSON file.
Export Data as CSV
Export Data as CSV opens a window to select a location to save the data as a .csv file.