The second way to take a photo for a simulation is to select the “Take Photo” option from the simulation Results tab. To do this, follow the following steps:
1. Select and load the simulation you want to upload a photo to.
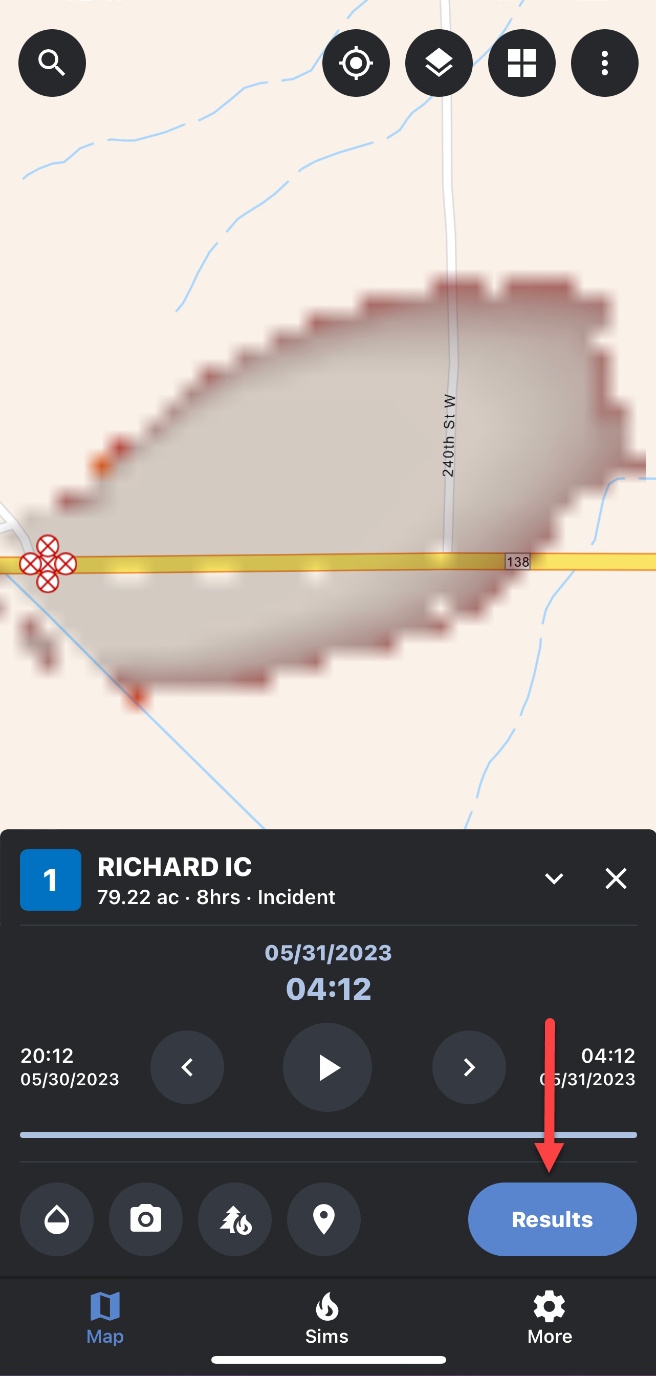
2. Select the “Results” tab.
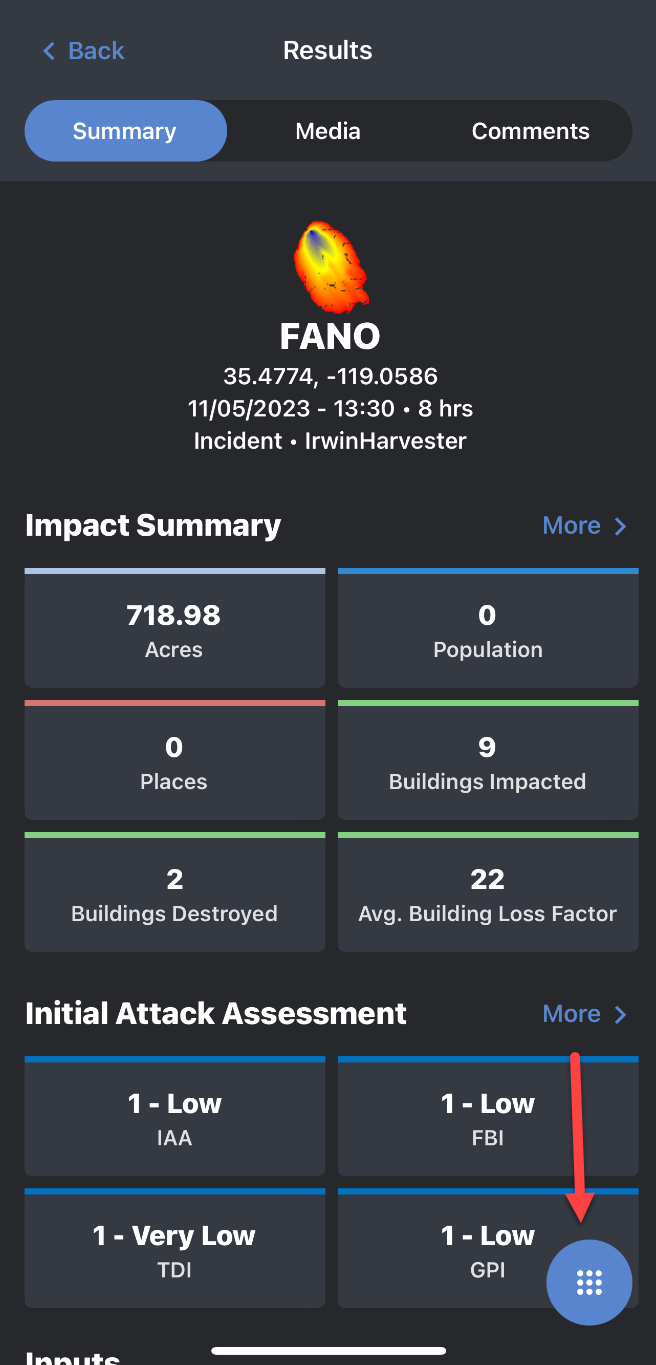
3. Tap the square blue “More” icon in the Results tab in the bottom right-hand corner of the screen.
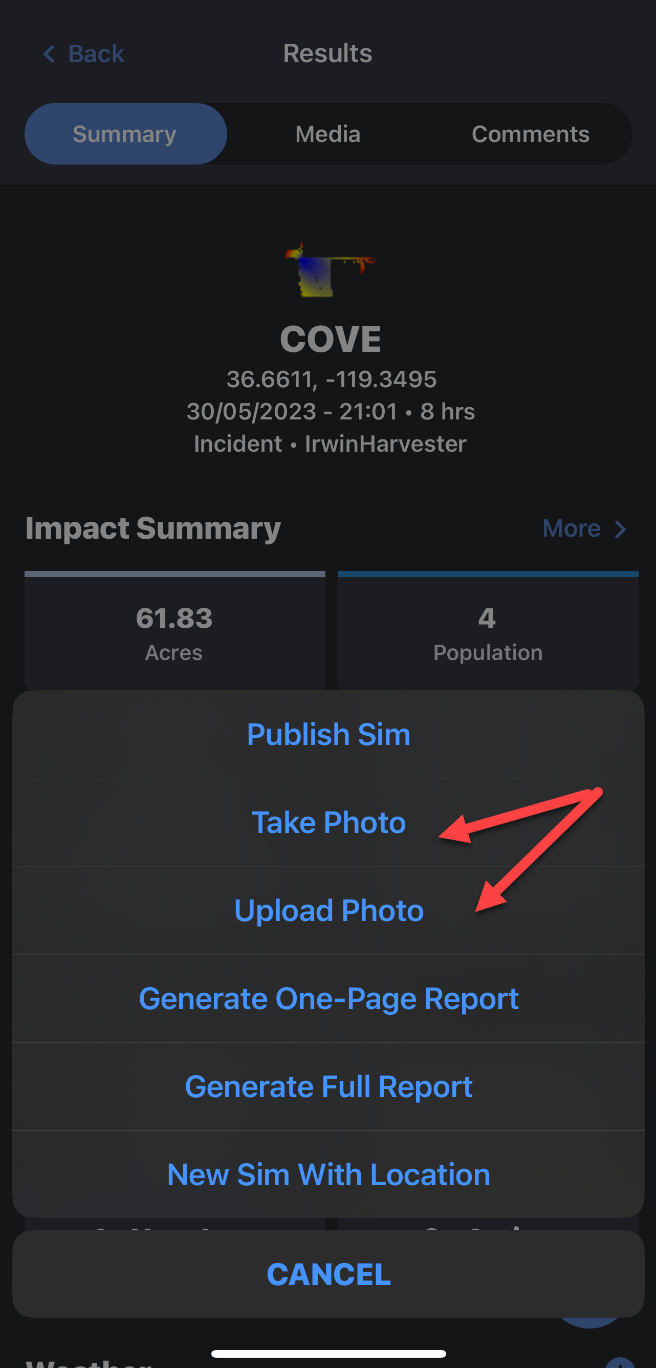
4. Select “Take Photo”. Use “Upload Photo” to upload an existing photo from your camera roll.
5. You will be taken the camera screen where you can take a photo. Tap the blue circle to take a photo.
a. To cancel, tap the back arrow on the camera screen.
6. You will then be prompted to add “Surface Spread” and other related information (under “details”), including Spotting (if Spotting is selected in the Surface Spread drop down), Eye-Level Wind Speed and Comments before attaching the photo to the simulation.
a. A preview of the photo that was taken will also be displayed. If you would like to retake the photo, tap the “X” button.
b. Comments added will be visible on desktop and in the mobile application when viewing a photo.
7. Once you have entered all the necessary information, tap “Save”. The photo will be attached to the selected simulation and viewable in the “Media” section of the Results tab and in the WFA-E desktop application.